

Are you on Facebook? You might be interested in the things I may not devote an entire blog post to: food news, recipes, food facts, nutritional information, photos and other things that make my mouth water. If so, visit my This Girl Loves To Eat community at: https://www.facebook.com/ThisGirlLovesHerFood
Category: Dinner

Matzo Ball Soup
I wasn’t raised in a Jewish family so wasn’t ever given the chance to experience some of the best, most flavorful, dishes that, thankfully, I was able to enjoy when I began visiting #TheRollAndRye deli in Culver City, CA with my father-in-law. Latkes, sweet noodle kugel, and matzo ball soup, if you haven’t had them made by a good Jewish cook, are treats you need to taste to appreciate!
When I married into the family I, not his Jewish daughter or granddaughter, was gifted with his Mother’s 80+ year old Jewish cookbook with his single request that I make noodle kugel for him. #DoneDeal
Fearing I couldn’t duplicate the soups he loved so well, until I came across this recipe in #Delish Magazine, I never attempted matzo ball soup. The lightness of the matzo balls makes them better than any I’ve ever tried.

SERVES 8 • TOTAL TIME 2 HR 30 MIN
FOR THE CHICKEN SOUP
- 2 tbsp. extra-virgin olive oil
- 1 Onion, quartered
- 2 Carrots, cut into appx. 4” pieces
- 4 stalks celery, cut into appx. 4″ pieces
- 1 Turnip, quartered
- 1 Parsnip, cut into appx. 4” pieces
- 1 whole chicken, about 2 1/2 to 3 lb.
- 6 Cups (48 oz) homemade chicken broth
- 4 Sprigs fresh dill
- 4 Sprigs fresh flat-leaf parsley
- Kosher Salt
- Freshly ground black pepper
FOR THE MATZO BALLS
- 4 eggs
- 1/2 Cup melted chicken fat (shmaltz)
- 1/2 Cup Seltzer water
- 1 Cup Matzo meal
- 1 tsp. Kosher Salt
- Freshly ground black pepper
1. Soup: In a very large pot over medium heat, heat oil. Cook onion, carrots, celery, turnip, and parsnip, stirring occasionally, until vegetables are fragrant, about 2 minutes. Place chicken on top of vegetables and toss so chicken gets slightly covered in veggies and oil. Add broth and enough water to just cover chicken. Add dill and parsley; season with salt and pepper. Bring to a boil, then reduce heat to medium-low and simmer, partially covered, 2 hours.
2. Remove chicken (shred for soup or reserve for another use). Reserve a few carrot pieces (to be sliced and added to soup later), then strain broth into a large bowl or measuring cup; season with salt and pepper. Discard remaining vegetables and herbs.
3. Matzo balls: In a medium bowl, beat eggs. Add fat and seltzer and mix well to combine. Add matzo meal, salt, and pepper and mix well, ensuring all matzo meal is incorporated into egg mixture. Refrigerate at least 30 minutes. 4. Meanwhile, bring a large pot of water to a boil. Using a cookie scoop (for medium matzo balls) or ice cream scoop (for large matzo balls), form mixture into balls, smoothing by rolling between slightly wet hands. Drop each ball into boiling water. (They will sink initially but rise as they cook.) Cook until centers of balls are fully cooked through, 25 to 35 minutes. They’ll look dense and dark yellow in the center if they’re not done.
5. Add matzo balls to soup, or place into serving bowls and top with soup. Top with chicken (if using), reserved carrots, and dill.
TIP** Double the recipe and make a second batch of #MatzoBalls to freeze. After cooking the matzo balls, place them on a parchment-lined baking sheet and freeze. Once frozen, you can transfer to a resealable plastic bag. To prepare, drop frozen balls into boiling broth and cook until heated through.
TIP 2** Matzo balls are sponges for flavor: They soak up whatever is around them. All the more reason to make sure the stock they’re sitting in is as good as possible.
Recipe courtesy of JOANNA SALTZ – Delish Magazine, April 2022
Are you on Facebook? You might be interested in the things I may not devote an entire blog post to: food news, recipes, food facts, nutritional information, photos and other things that make my mouth water. If so, visit my This Girl Loves To Eat community at: https://www.facebook.com/ThisGirlLovesHerFood
Share this:

Cheesy Poblano Chicken Bake
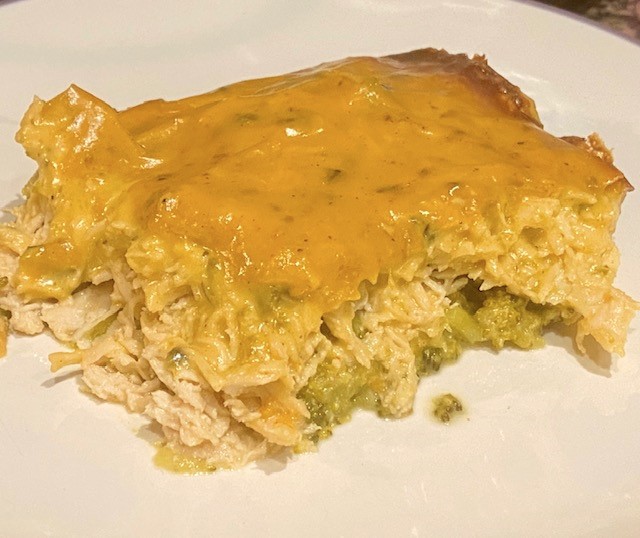 Playing around during #Keto meal prep this weekend, I came up with a high protein/low carb chicken and broccoli casserole that’s a great dinner with a salad or perfect for a grab-and-go lunch that can easily be reheated in the microwave at work! #ThisGirlLovesToEat
Cheesy Poblano Chicken Bake
- 1 Poblano Chili, seeded & finely chopped
- 4 TBLS Butter, divided
- 8 oz Fresh Broccoli Florets, trimmed
- 1.75 lb (28 oz) Chicken Breast (uncooked and cut into appx 2 x 2 chunks)
- 2 TBLS Bob’s Red Mill Paleo Baking Flour
- 1/2 Cup Water
- 1 Cup Half & Half
- 6 oz Sharp Cheddar Cheese, shredded
- 1/4 tsp Black Pepper
- 1/4 tsp Salt
- 1/4 tsp Garlic Powder
Preheat the oven to 350º F and spray the bottom of a 9 x 11 inch Pyrex baking dish with olive oil cooking spray.
In a microwave steamer, cook the raw broccoli on high power for 4 minutes. Layer the cooked broccoli into the Pyrex baking dish.
Using the same steamer, cook the chicken in the microwave for 5 – 6 minutes, just until cooked thru. Remove the chicken to your stand mixer with the paddle attachment and shred the chicken on low (about 2 minutes). Layer the chicken on top of the broccoli layer.
In a medium saucepan, combine 2 TBLS of the butter and the chopped Poblano pepper and saute until the peppers are soft and the butter has turned green (5-7 minutes). Add the remaining 2 TBLS butter, salt, pepper and garlic powder, and, once melted, stir in the flour. Cook while stirring constantly for about 2 minutes, over medium heat, until the mixture is bubbling and very well combined.
Add milk then water, and whisk until smooth, scraping roux out of the corners of the saucepan. Increase heat to medium high, bring to a simmer, stirring constantly until the mixture thickens, 2 to 4 minutes. Remove from heat and stir in the cheese until smooth. Add the paprika.
Pour the cheese sauce over the top of the chicken layer and spread to the edges of the pan.
Bake 20-30 minutes, or until sauce is bubbling and the casserole is warm throughout.
Nutrition Information (6 Servings)
- 350 Calories
- 20 g Fat
- 2 g Carbohydrates
- 37 g Protein
Are you on Facebook? You might be interested in the things I may not devote an entire blog post to: food news, recipes, food facts, nutritional information, photos and other things that make my mouth water. If so, visit my This Girl Loves To Eat community at: https://www.facebook.com/ThisGirlLovesHerFood
Share this:

Three Pepper Cacio de Pepe
Recipes like this are why it’s so damn hard to stay Keto. 😂😂😂 Food & Wine Magazine just keeps enticing me to #TheDarkSide!

- 3 tablespoons extra-virgin olive oil
- 1 teaspoon crushed pink peppercorns
- 1/2 teaspoon coarsely ground Tellicherry pepper
- 1/2 teaspoon ground Szechuan pepper
- 12 ounces uncooked bronze-cut fusilli col buco pasta (such as Giusto Sapore) or bucatini pasta
- 1 1/2 ounces pecorino Romano cheese, grated with a Microplane grater (about 1 cup), plus more for garnish
- 1 1/2 ounces Parmigiano-Reggiano cheese, grated with a Microplane grater (about 1 cup)
- 1 Cup reserved pasta cooking water
Are you on Facebook? You might be interested in the things I may not devote an entire blog post to: food news, recipes, food facts, nutritional information, photos and other things that make my mouth water. If so, visit my This Girl Loves To Eat community at: https://www.facebook.com/ThisGirlLovesHerFood
Share this:

Creole Spiced Mahi-Mahi with Lime Sauce
 I love my air fryer and have, so far, only experimented once with cooking seafood in it. I did Salmon in it, which turned out so yummy! Tonight I was behind the 8-Ball, having forgotten to get something out for dinner, so seafood attempt number two, with frozen fillets no less, is commencing as we speak!
Creole Spiced Mahi-Mahi with Lime Sauce
- 2 – 6 Ounce Frozen Wild Caught Mahi-Mahi Fillets (I got mine from Whole Foods)
- Zatarain’s Creole Seasoning
- 4 TBLS Butter (room temperature)
- Juice and Zest of 1 Lime
- Olive Oil Cooking Spray
Lightly spray the inner basket of your air fryer with olive oil spray.
Liberally sprinkle both sides of your mahi-mahi with the Creole seasoning and lay in the air fryer basket. Lightly spray the top of the fillets and close the tray.
Cook at 380° F for 10 minutes then turn the fillets over and cook another 8 to 10 minutes, or until fish flakes and inner temperature registers 145° F.
While the fish is cooking, stir the lime juice and zest into the butter and set aside.
When the timer goes off, remove mahi-mahi from the air fryer immediately, cut each fillet in half, and spoon 1/4 of the lime butter over each serving. Serve with a green salad and a steamed vegetable for a quick & healthy weeknight meal. #ThisGirlLovesToEat

Nutrition Information: (4 – 3 oz servings with 1 TBLS Lime Butter Sauce)
- 170 Calories
- 11.5 g Fat (7 g Saturated Fat)
- 0 g Carbohydrates
- 16 g Protein
Share this:

Chicken Bacon Ranch Meatballs

Ground chicken breast is one of my favorite ways to build a base for a #Keto meal! It’s so versatile, mixes so well with most of my favorite ingredients, and is so easy to meal prep for the week ahead, that it’s become my go-to for creating new #KetoRecipes.
This recipe for #ChickenBaconRanchMeatballs is fun because you can eat them all alone or pop them on a skewer between a piece of lettuce and 1/2 a plum or cherry tomato and drizzle with some ranch dressing for a fun lunch, light dinner, or appetizer. #ThisGirlLovesToEat
Chicken Bacon Ranch Meatballs
- 2 Pounds Ground Chicken Breast
- 4 Pieces Thick Cut Bacon
- 3 Pieces Thick Cut Peppered Bacon
- 1 Large Egg
- 2 Cups Fresh Baby Spinach
- 1 TBLS Olive Oil
- 4 TBLS Ranch Dressing
- 1/2 Cup Panko
- Olive Oil Spray
Using your hands, combine all of the ingredients in a medium bowl until well mixed.
Spray the basket in your air fryer lightly with olive oil spray, place a layer of meatballs, with space between for the air to flow around, set the temperature to 380° F, and set the timer for 8 minutes. Cook the meatballs, shaking them to turn them about halfway through so they brown evenly.
Quick, easy and oh so tasty!
Share this:

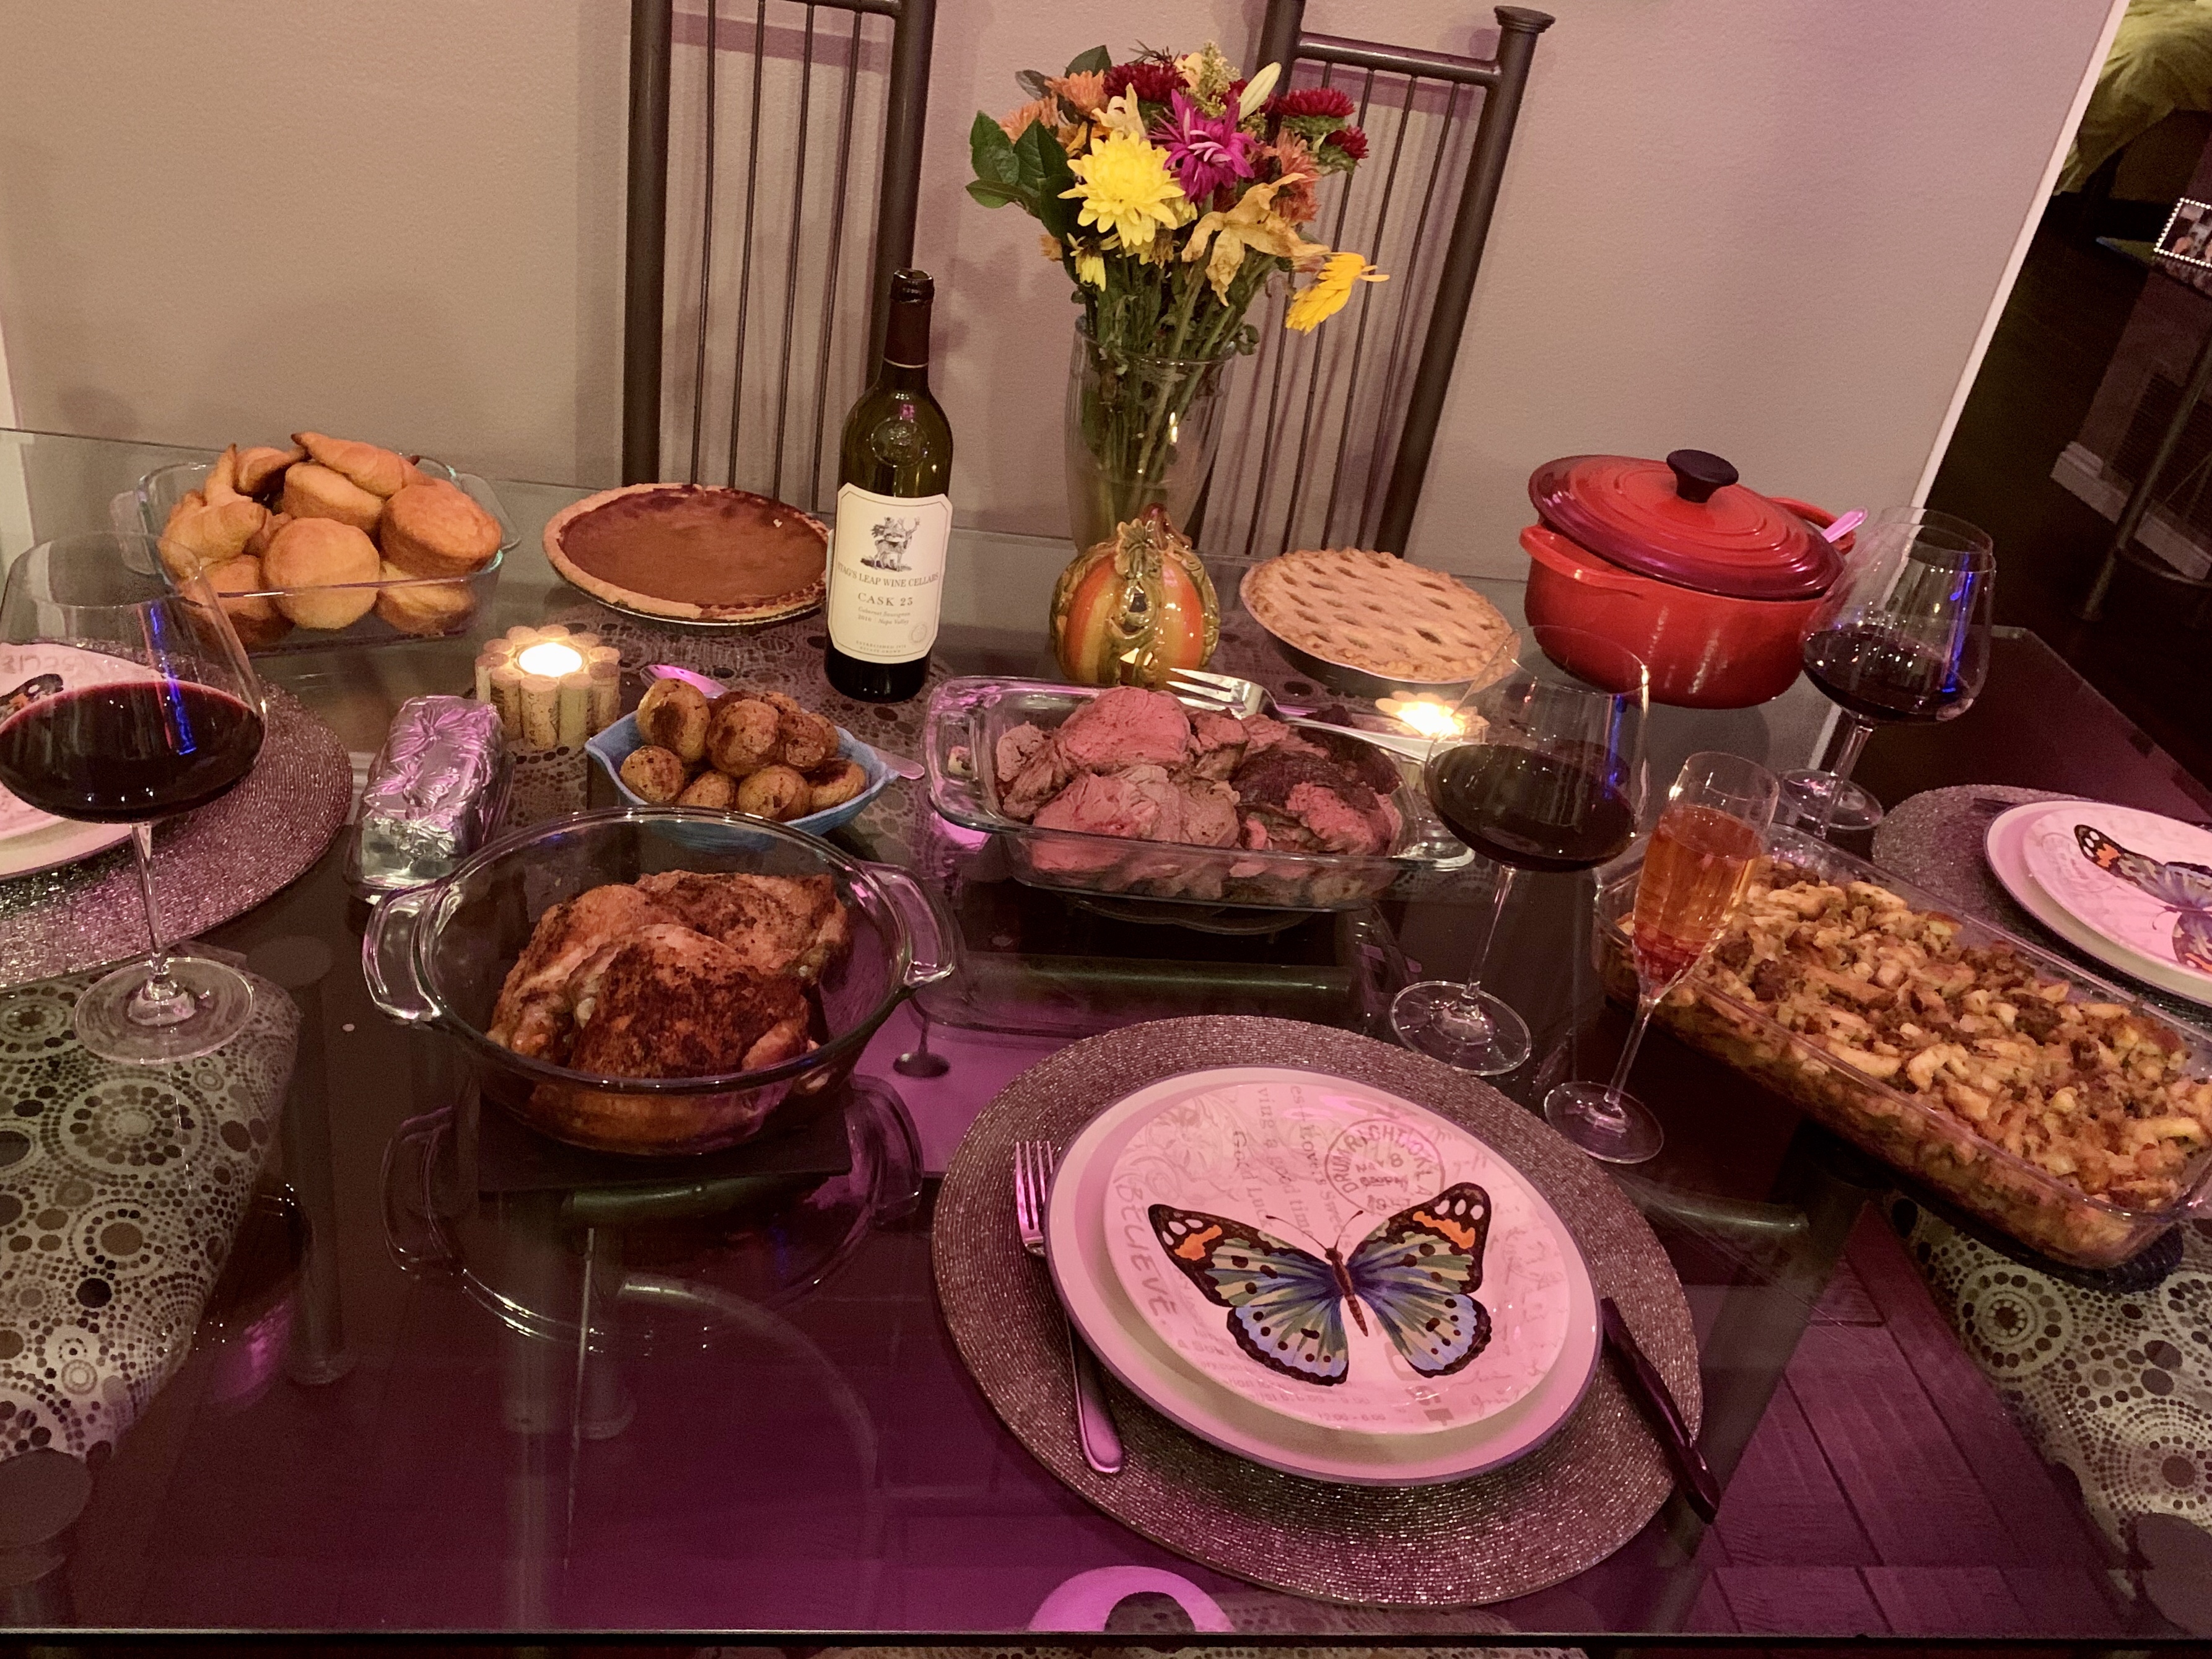
Sausage Stuffing for Beef
Although I am not making the traditional Thanksgiving fare, there are still some foods that accompany the feast that I need to have, like stuffing. This stuffing recipe is great alongside roast beef, so it could be your go-to for Christmas #RoastBeast too! #ThisGirlLovesToEat
Sausage Stuffing for Beef
- 1 Pound Ground Italian Sausage (Mild or Hot – your choice)
- 1 Cup (2 Sticks) Salted Butter (1/4 Cup Melted Butter)
- 1 Cup Finely Chopped Onion
- 1 Bunch Celery (including the tops), chopped
- 1 Medium Granny Smith Apple, chopped
- 1+1/2 to 2 Cups Beef Broth (Or 1 Can Beef Consommé + water to desired moistness)
- 1 – 16 oz Bag Dried Bread Chunks for Stuffing (Any type of bread)
- 1 TBLS Chopped Parsley
- 1 Large Egg, beaten
- 1 tsp Ground Black Pepper
- Pinch Nutmeg (to taste)
Preheat oven to 350° F. Butter a 9″ x 13″ Baking pan and set aside.
In large dutch oven, brown the sausage (I like big chunks). Remove the sausage from the pan and melt the butter, scraping up the browned pieces. Add the oonion and celery and cook until onion is translucent.
Add the apple and stir the sausage back into the pan. Add the pepper and nutmeg, the parsley, and adjust the salt if needed. Turn off the heat and add your cubed bread. Slowly stir in your beef broth/Consommé and then add your egg.
Spoon the stuffing into the prepared baking dish and drizzle the melted butter over the top of the stuffing. Baker for 40 minutes covered and an additional 10 minutes or so uncovered, to crisp up the top!
Share this:

Turkey Day Prep: Creamed Spinach with Bacon
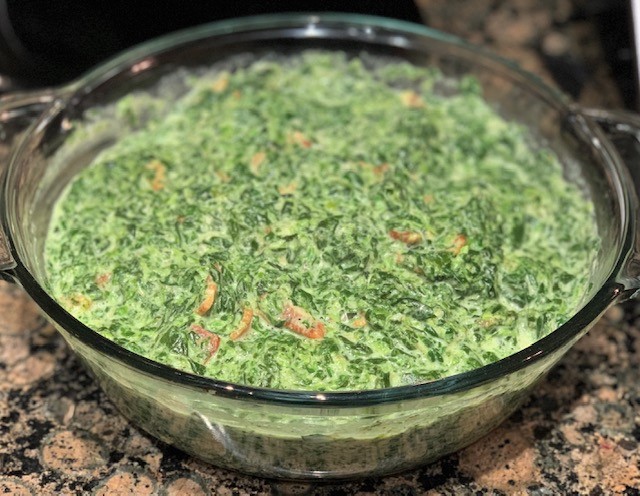
Creamed spinach may not seem like a side dish that pairs well with the traditional Thanksgiving meal, but the creamy richness is an especially nice companion to turkey, mashed potatoes and stuffing, and a nice change from the same old green bean casserole. It’s also great with ham and, of course, any type of beef. It’s #GlutenFree when you use #BobsRedMill Paleo Baking Flour and pretty #KetoFriendly too! #ThisGirlLovesToEat
Creamed Spinach with Bacon
- 2 – 16 oz pkgs Frozen Chopped Spinach, defrosted and squeezed dry
- 3 Cups Warm Whole Milk
- 1 Pound Bacon, chopped into 1/2″ pieces
- 1 Cup Finely Chopped Onions
- 2 Cloves Garlic, minced
- 1 tsp Salt
- 1/2 tsp Freshly Ground Black Pepper
- 2/3 Cup Bob’s Red Mill Paleo Baking Flour (Grain & Gluten Free)
- 6 TBLS Butter, melted
Cook bacon slowly until browned but not crispy. Remove bacon to a paper towel lined plate and leave the grease in the pan. Over medium heat, cook the onions and garlic until the onions are translucent.
 Add the salt & pepper and stir in the flour. Stir and cook for 2-3 minutes, until a very light brown, fluffy roux forms. Slowly stir in the warm milk (I microwave mine in a Pyrex measuring cup for about 2 minutes) and stir until smooth.
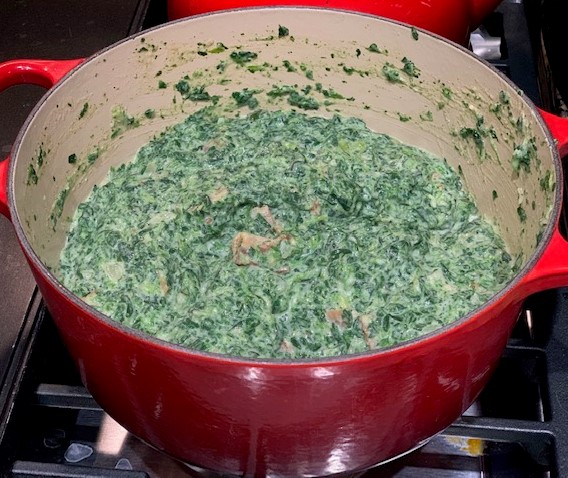 Add the bacon back into the pan and cook for about another minute, stirring continuously. Add the spinach and cook, stirring occasionally, over low-medium heat until all of the spinach is mixed in and warmed through.
Cover the top with the melted butter until ready to serve.
Nutrition Information: (Makes 12 – 14 Half Cup Servings)
- 165 Calories
- 5 g Carbohydrates
- 6.4 g Fat
- 8.2 g Protein
If you’re interested in the things I may not devote an entire blog post to, like: health articles, my favorite recipes, fun drinks, food facts, nutritional information, restaurant reviews, gadget reviews, photos and other things that make my mouth water, I have a community page on Facebook: https://www.facebook.com/ThisGirlLovesHerFood
Share this:

Turkey Day Prep: Keto Zinful Cran-Blueberries

A few years ago I created a cran-blueberry sauce that was bursting with flavor and incorporated my favorite thing: wine! Since then I have tried to limit my sugar consumption and been eating a modified Keto diet, so this year I’ve adapted my recipe, by #CookingWithStevia, for the Keto crowd. No matter what, I use a good Zinfandel. The taste matters. This year it’s a 2015 #TobinJames #FatBoyZinfandel
Keto Zinful Cran-Blueberry Sauce
- 3/4 Cup Granulated Stevia – don’t use Truvia, it has an after taste when not cooked
- 1 Cup Zinfandel Wine (Best you can afford – if you wouldn’t drink it, don’t cook with it)
- 1 – 12 oz Package Ocean Spray Fresh Whole Cranberries
- 1 Cup Frozen Blueberries
- 1 Whole Cinnamon Stick
- 1/4 tsp Nutmeg
- 1/4 tsp Orange or Tangerine Zest
Bring Stevia, wine and cinnamon stick to a full rolling boil in a medium saucepan.
Add remaining ingredients and return to a full boil (cranberries will start to pop), stirring constantly. Reduce heat to medium-low and simmer 15-20 minutes, stirring once or twice to make sure nothing sticks. You may want to use a splatter shield to avoid splashing when cranberries pop.
Turn off heat and, if all cranberries didn’t pop fully, press with the back of a large spoon if desired. I use my meat mallet and gently press down until all are popped.
Remove and discard cinnamon stick. Cool slightly then move sauce to serving dish. Refrigerate at least 2 hours and serve cold. Sauce will thicken up as it cools. Garnish with a few cranberries, blueberries and curls of zest. To save time, and stove space, this can be made ahead and kept refrigerated in a tightly covered container.
*If you want it jellied: Strain out the berry solids and skins by pressing them using a rubber spatula and fine mesh strainer before refrigerating. To get the most of the strained pulp, I run it through my mini-chopper (or a food processor / blender) after the first pressing, then run that through the strainer again. Sauce thickens as it cools and should be stored in a sealed container if not serving immediately (after the 2 hour chilling).
Nutrition Information: (Makes 3 Cups – Serving Size 2 TBLS)
- 33 Calories
- <1 g Fat
- 2.2 g Carbs
- <1 g Protein
Are you on Facebook? You might be interested in the things I may not devote an entire blog post to: recipes, food facts, nutritional information, photos and other things that make my mouth water. If so, visit my This Girl Loves To Eat community at: https://www.facebook.com/ThisGirlLovesHerFood
Share this:

Instant Pot Spicy Tomato Bisque
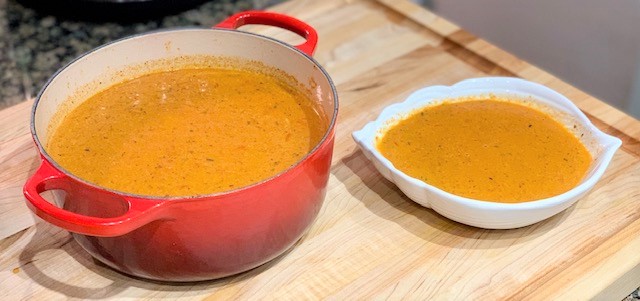
I bought some organic tomatoes on the vine and a pint of grape tomatoes that I hadn’t finished but didn’t want to go to waste. Tomato soup is my favorite, but the canned variety is SO full of carbs…enter the #InstantPot and, 20 minutes later, viola #LowCarbTomatoBisque!
Spicy Tomato Bisque
- 2 TBLS Olive Oil
- 1/2 Cup Chopped Onion (1 Small to Medium Onion)
- 3 Ribs Celery, Chopped (About 3/4 Cup)
- 2 Medium Carrots, Peeled & Cut into 1/2″ Slices
- 3 Cloves Garlic, Peeled
- 4-6 Medium Tomatoes, Quartered (I used 4 + 2/3 Pint of Grape Tomatoes)
- 1/2 TBLS Dried Oregano
- 1/2 TBLS Dried Parsley
- 1/2 TBLS Dried Basil
- 1 – 10.5 oz Can Beef Consommé (or Vegetable Broth for Vegetarian) + 1/2 Can Water
- Dried Red Pepper Flakes (if desired)
- 1/2 Cup Heavy Cream
- Salt & Pepper to taste
- Grated Parmesan Cheese (if desired)
Set the Instant Pot to saute mode and add the oil to warm. Add onion, celery, garlic, carrots, tomatoes, oregano, basil and parsley cook for about 3 minutes.
Add Consommé/Broth and red pepper if using. Mix well. Close the Instant Pot with pressure valve to sealing and set to cook for 9 minutes.
When cycle is complete, set valve to quick release, open the Instant Pot, and puree the soup using an immersion blender. I prefer mine a little bit chunky.
Set the Instant Pot to Saute mode. Stir in cream and adjust spices with salt & pepper as needed. Ladle into bowls, and sprinkle with grated Parmesan cheese if desired.
Nutrition Information: Serves 6
- 152.5 Calories
- 13g Fat
- 6.5 g Carbs
- 2 g Protein
Are you on Facebook? You might be interested in the things I may not devote an entire blog post to: recipes, food facts, nutritional information, photos and other things that make my mouth water. If so, visit my This Girl Loves To Eat community at: https://www.facebook.com/ThisGirlLovesHerFood

