Skinny Buffalo Chicken Burritos

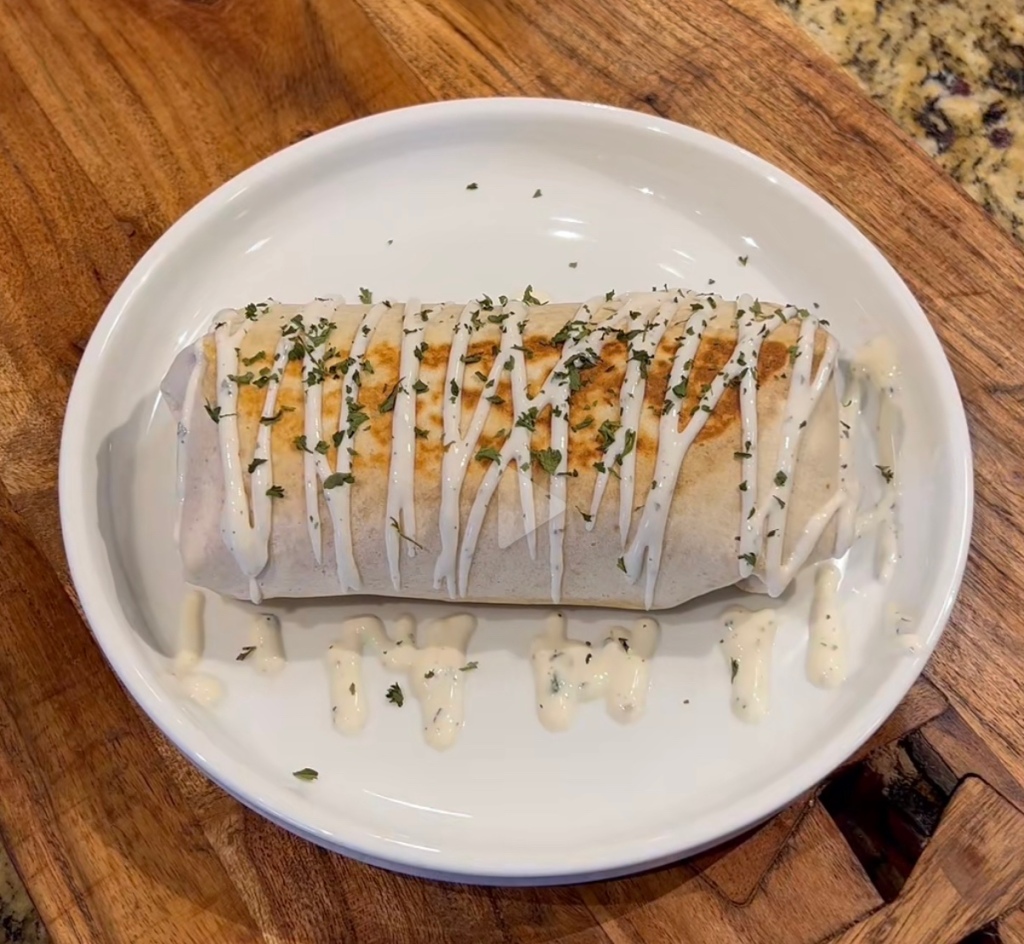
I saw this video on #TikTok and got inspired to use the method but slim down the ingredients used to make it #KetoFriendly and not just low fat, like the original intended. Thanks, Nikita Fair for the inspiration!

  • 1 Pound Chicken Breast, cut into 4 equal pieces
  • 1/4 Cup Franks Red Hot Buffalo Sauce
  • 1 Cup Cottage Cheese
  • 1 TBLS Ranch Seasoning (Homemade or Store Bought)
  • Paprika
  • Garlic Salt
  • Ground Pepper
  • 1 Cup Shredded Cheddar Cheese
  • 4 Mission Carb Balance Flour Tortillas

Sprinkle the chicken breasts with the garlic salt, pepper, and paprika and cook at 375°F in the air fryer for 10-12 minutes until internal temperature reaches 160°F. Remove chicken, cover with foil and set aside while you prepare the sauce.

In mini (or full size) blender jar, combine cottage cheese, buffalo sauce, and ranch seasoning and blend on medium-high until smooth.

Uncover chicken and chop into about 1/2” chunks. Combine with sauce and cheese. Divide chicken mixture equally onto the 4 tortillas. Fold the tortillas and place seam side down on a hot sauté pan. Brown burrito on both sides and wrap in foil to keep warm if not serving immediately. Can be stored in refrigerator or freezer and warmed back up.

Nutrition information: 541 Calories 27.5 g Fat 5.5 g Carbs 61.5 g Protein

Are you on Facebook? You might be interested in the things I may not devote an entire blog post to: food news, recipes, food facts, nutritional information, photos and other things that make my mouth water. If so, visit my This Girl Loves To Eat community at: https://www.facebook.com/ThisGirlLovesHerFood

Advertisement

Three Pepper Cacio de Pepe

Recipes like this are why it’s so damn hard to stay Keto. 😂😂😂 Food & Wine Magazine just keeps enticing me to #TheDarkSide!

Three Pepper Cacio e Pepe

  • 3 tablespoons extra-virgin olive oil
  • 1 teaspoon crushed pink peppercorns
  • 1/2 teaspoon coarsely ground Tellicherry pepper
  • 1/2 teaspoon ground Szechuan pepper
  • 12 ounces uncooked bronze-cut fusilli col buco pasta (such as Giusto Sapore) or bucatini pasta
  • 1 1/2 ounces pecorino Romano cheese, grated with a Microplane grater (about 1 cup), plus more for garnish
  • 1 1/2 ounces Parmigiano-Reggiano cheese, grated with a Microplane grater (about 1 cup)
  • 1 Cup reserved pasta cooking water

Are you on Facebook? You might be interested in the things I may not devote an entire blog post to: food news, recipes, food facts, nutritional information, photos and other things that make my mouth water. If so, visit my This Girl Loves To Eat community at: https://www.facebook.com/ThisGirlLovesHerFood

Chicken Bacon Ranch Meatballs

chickbaconranchmb2

Ground chicken breast is one of my favorite ways to build a base for a #Keto meal!  It’s so versatile, mixes so well with most of my favorite ingredients, and is so easy to meal prep for the week ahead, that it’s become my go-to for creating new #KetoRecipes

This recipe for #ChickenBaconRanchMeatballs is fun because you can eat them all alone or pop them on a skewer between a piece of lettuce and 1/2 a plum or cherry tomato and drizzle with some ranch dressing for a fun lunch, light dinner, or appetizer.  #ThisGirlLovesToEat

Chicken Bacon Ranch Meatballs

  • 2 Pounds Ground Chicken Breast
  • 4 Pieces Thick Cut Bacon
  • 3 Pieces Thick Cut Peppered Bacon
  • 1 Large Egg
  • 2 Cups Fresh Baby Spinach
  • 1 TBLS Olive Oil
  • 4 TBLS Ranch Dressing
  • 1/2 Cup Panko
  • Olive Oil Spray


Using your hands, combine all of the ingredients in a medium bowl until well mixed.

Spray the basket in your air fryer lightly with olive oil spray, place a layer of meatballs, with space between for the air to flow around, set the temperature to 380° F, and set the timer for 8 minutes. Cook the meatballs, shaking them to turn them about halfway through so they brown evenly.

Quick, easy and oh so tasty!


Turkey Day Prep: Pumpkin Hummus

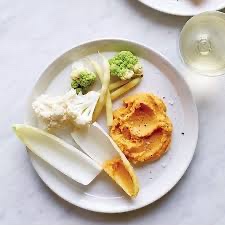
You know you need something to let people snack on before the big meal, but you don’t want them to be too full to eat the meal you’ve been slaving over for days…

This recipe, from November 2015’s Food & Wine Magazine, takes the edge off but won’t ruin anyone’s dinner! #ThisGirlLovesToEat

How to Make It

In a food processor (I used my Vitamix), combine the chickpeas with the pumpkin, lemon juice, garlic, cayenne and 1/3 cup of water and puree until smooth. Season the hummus with salt and pepper and serve with pita chips or crudités.

Make Ahead

The pumpkin hummus can be refrigerated for up to 3 days.

Seared Scallops with Pan Sauce

Seared-Scallops-with-Pan-Sauce-2-113016

Scallops are one of the most delicious seafood dishes when prepared properly.

In a November 2016 posting, Mark Bittman of epicurious.com shared some of his tips and tricks for making a foolproof seared scallop dinner.   This #FastAndEasy recipe will make anyone you’re serving them to think you slaved all day!

Seared Scallops with Pan Sauce (Serves 4)

  • 3 tablespoons butter
  • 1 tablespoon olive oil
  • 1 1/2 pounds sea scallops
  • Salt and freshly ground pepper
  • 2-3 tablespoons minced garlic
  • Juice of 1 lemon
  • 1/2 cup dry white wine or water, or more as needed
  • 2 tablespoons chopped fresh chives
  1. Cut 2 tablespoons of the butter into pea-sized pieces, put it on a small plate, and stick it in the freezer. Heat a large skillet over medium-heat high for 3 or 4 minutes. Add the remaining 1 tablespoon butter and the olive oil and wait for the butter to melt.
  2. Pat the scallops dry with paper towels, add them to the pan and sprinkle with salt and pepper; work in batches if necessary to avoid crowding the skillet. Cook, turning once, until they are well browned on both sides but not quite cooked through, 2 minutes per side (less if the scallops are under 1 inch across; more if they’re over). Transfer the scallops to a plate.
  3. Stir in the garlic, lemon juice, and wine and scrape all the brown bits off the bottom of the skillet with a spatula. Lower the heat to medium and cook until the liquid in the skillet thickens, a minute or two, then whisk in the butter you chilled in the freezer, one bit at a time, to make a creamy sauce, adding another tablespoon or two of liquid if necessary.
  4. Return the scallops to the skillet and add the chives. Adjust the heat so the sauce bubbles gently and toss to coat the scallops with the sauce. To serve, transfer the scallops to a platter and spoon the sauce over all.

Variation:

  1. Seared Scallops With Cherry Tomatoes and Basil: Skip the lemon juice. Cut 1 pint cherry tomatoes in half. Add the tomatoes with the garlic and wine and cook until they wrinkle a bit and release their juice, 2 or 3 minutes. Use chopped fresh basil leaves instead of chives.

Cooks’ Notes

  1. Releasing From The Pan: The scallops will offer no resistance when they’re ready to turn. Press down gently while the scallops cook to encourage full contact with the pan, then listen for a hiss: That’s moisture heating and evaporating.
  2. Getting A Good Sear: The idea is to brown the scallops well on both sides without overcooking them, so keep the heat as high as you can without creating too much smoke.
  3. Building Sauce With Butter: After you add the liquid and deglaze the pan, the addition of butter develops fantastic creaminess and richness.
  4. Finishing The Dish: As soon as the scallops are cooked through completely and coated with the sauce, remove the pan from the heat; they will continue to cook. Nick-and-peek into one if you need to check for doneness.
Tips**
  • Make sure you pat the scallops dry with a paper towel.  Only a dry scallop will sear properly.  A perfectly seared scallop should be nicely browned on the outside and buttery in the middle.
  • A paring knife should slide in and out with almost no resistance, but as always, the best way to check it is to make a small slice into one and look (or taste).   The inside should remain translucent.   High-quality scallops are delicious raw and tend to dry out quickly: It’s better to undercook than overcook.  #ThisGirlLovesToEat

Chicken with Peaches & Ginger

chicken-peaches-gingerI hate the fuzz on fresh peaches but, on a whim, I grabbed a half dozen at the store this week because they smelled so damn good.  Women’s Day Magazine had a recipe that satisfied my criteria for weeknight meals: simple ingredients and under 30 minutes to prepare!  I’m not a fan of couscous, so I mad one minor change to the recipe and substituted quinoa.

Chicken with Peaches & Ginger

  • 1 TBSP extra-virgin olive oil
  • (6-oz.) boneless, skinless chicken breasts
  • kosher salt
  • Freshly ground black pepper
  • 6 Medium  Fresh (peeled & sliced) or 12 oz. frozen peaches (no need to defrost)
  • 1 TBSP packed light brown sugar
  • 1 tsp fresh thyme leaves
  • 1 tsp freshly grated ginger
  • 3/4 cup dry white wine (like Sauvignon Blanc)
  • 1 cup dry quinoa
  • Fresh chopped basil or parsley, for serving
  1. Heat the oil in a large skillet over medium-high heat. Season the chicken with 1⁄2 teaspoon each salt and pepper and cook on one side until golden brown, 4 to 6 minutes.
  2. Flip, cook for 1 minute, then scatter the peaches, sugar, thyme, and ginger over and around the chicken.
  3. Add the white wine, bring to a boil, then reduce heat and simmer until the chicken is cooked through and the peaches are warm and starting to break down at the edges, 6 to 7 minutes.
  4. Meanwhile, cook the quinoa according to package directions. Serve the chicken, peaches and sauce over the quinoa and sprinkle with basil or parsley, if desired.

PER SERVING

  • 449 CAL
  • 8 G FAT (1.5 G SAT FAT)
  • 124 MG CHOL
  • 324 MG SOD
  • 44 G PRO
  • 47 G CAR
  • 3 G FIBER

Wine pairing suggestions:

WesterlySauvBlanc14
2014 Westerly Wines


Trinitas2014SauvBlanc
2014 Trinitas Cellars


alphaomegasauvblanc15
2015 Alpha Omega

ghostblockmorganleesauvblanc15
2015 Ghost Block

Salmon in Parchment

If you are always on the lookout for quick and easy weeknight recipes, and don’t stop here first, do what I often do when I am looking for inspiration and follow Food Porn on Twitter.

Today there was a quick and easy to follow video for Salmon Baked in Parchment that will help you get dinner on the table in under 30 minutes!

4salmonrecipes

  • Pesto Salmon
  • Teriyaki Salmon
  • Lemon Dill Salmon
  • Garlic Butter Salmon


I’ve done the lemon dill salmon and it came out perfect.  Next on my list to try is the pesto salmon.  This girl loves pesto and this girl loves salmon!  Let’s face it, #ThisGirlLovesToEat 

If you use Facebook and are interested in the things I may not devote an entire blog post to: things like health articles, my favorite recipes, fun drinks, food facts, nutritional information, restaurant reviews, photos and other things that make my mouth water, I have a very active community page on Facebook you can visit too: https://www.facebook.com/ThisGirlLovesHerFood