Broccoli and Chicken Noodle Soup

broccolichickensoup
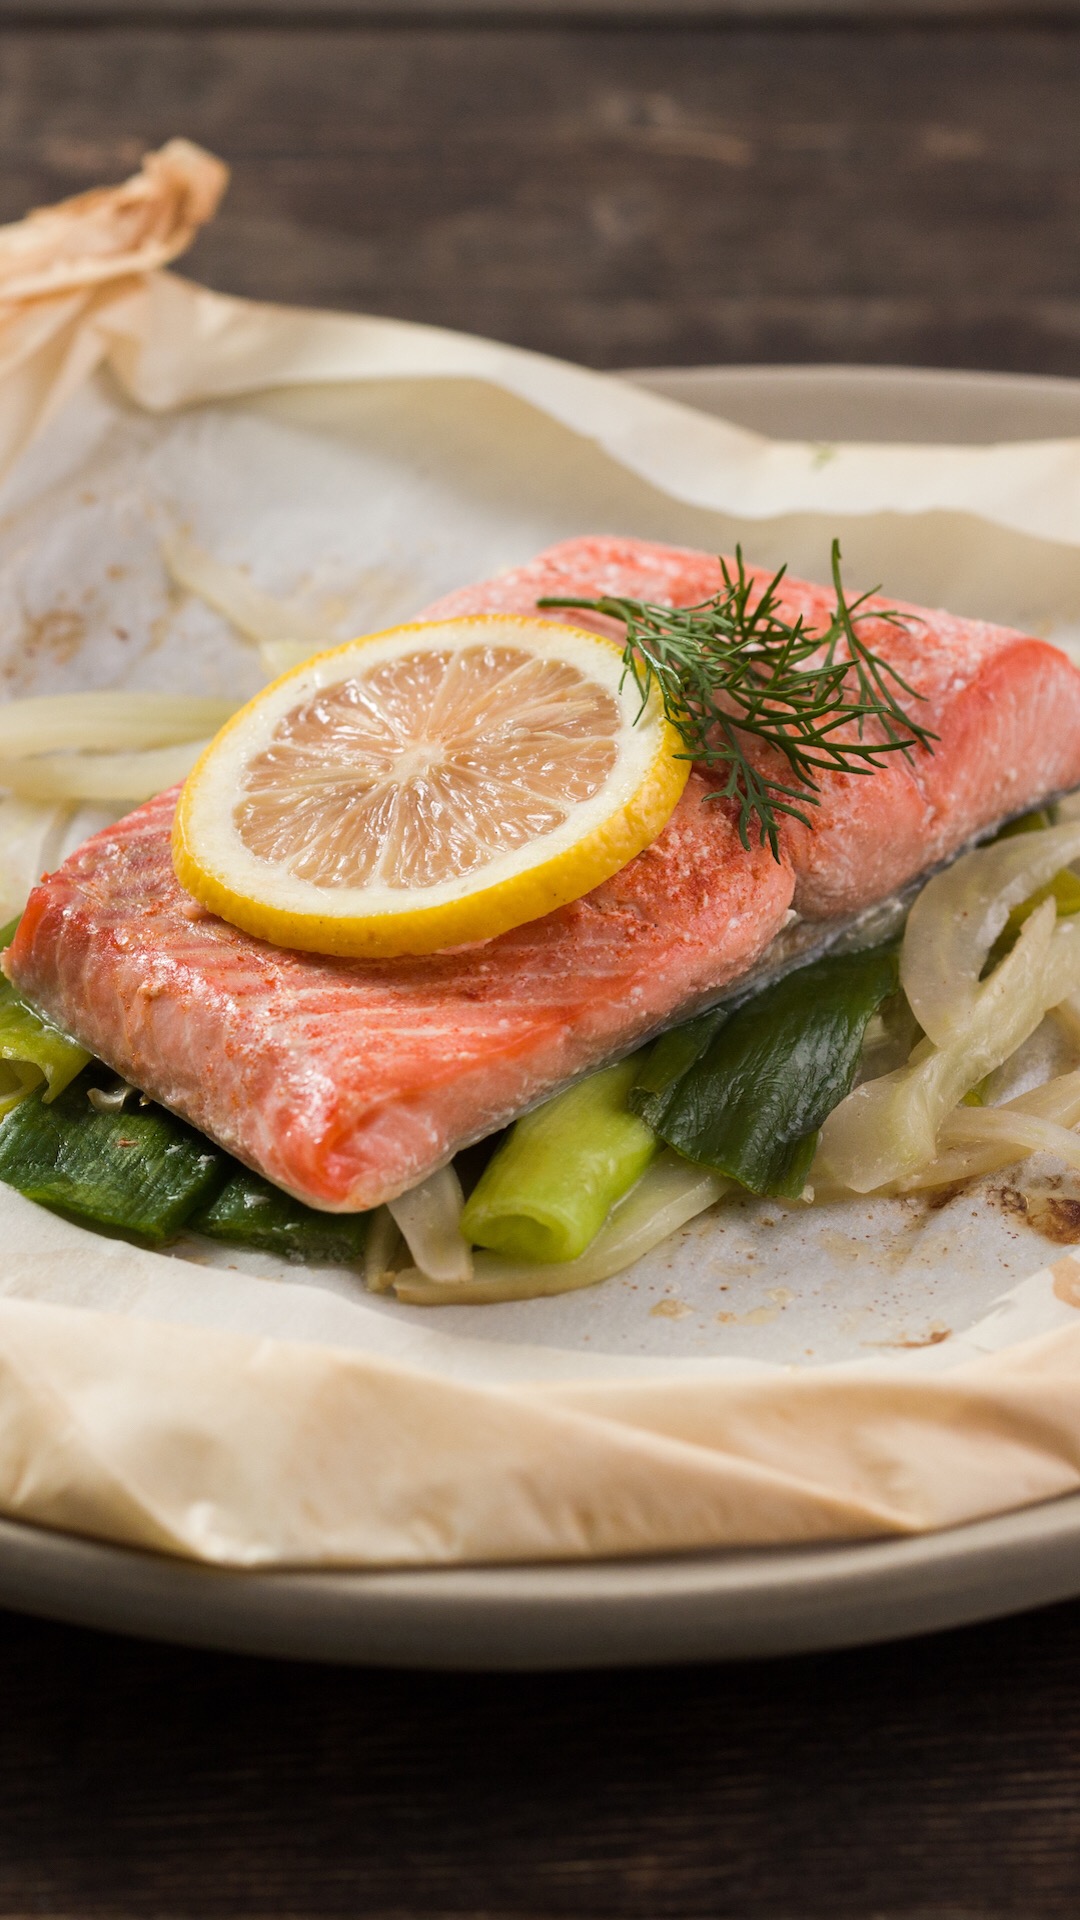
Cooking Light is my favorite “Go-To” resource for a quick and healthy weeknight meal.  It’s been cold and blustery this week and the last thing I wanted to do was put together a big fussy sit down meal, but I wanted something hearty enough to be filling.

This soup, that they did a recipe rescue on, has 40 percent fewer calories and 62 percent less fat than the heavy original.  It satisfied the need for something hearty and filling without completely blowing the diet while also giving a big sit down meal feel with some crusty bread and a glass of wine!

Broccoli and Chicken Noodle Soup

Ingredients

  • Cooking spray
  • 2 cups chopped onion
  • 1 cup pre-sliced mushrooms
  • 1 garlic clove, minced
  • 3 tablespoons butter
  • 1.1 ounces all-purpose flour (about 1/4 cup)
  • 4 cups 1% low-fat milk
  • 1 (14-ounce) can fat-free, less-sodium chicken broth
  • 4 ounces uncooked vermicelli, broken into 2-inch pieces
  • 2 cups (8 ounces) shredded light processed cheese (such as Velveeta Light)
  • 4 cups (1-inch) cubed cooked chicken breast
  • 3 cups small broccoli florets (8 ounces)
  • 1 cup half-and-half
  • 1 teaspoon freshly ground black pepper
  • 3/4 teaspoon salt

Preparation

  1. Heat a Dutch oven over medium-high heat.
  2. Coat pan with cooking spray.
  3. Add onion, mushrooms, and garlic to pan; sauté 5 minutes or until liquid evaporates, stirring occasionally.
  4. Reduce heat to medium; add butter to mushroom mixture, stirring until butter melts.
  5. Sprinkle mushroom mixture with flour; cook 2 minutes, stirring occasionally.
  6. Gradually add milk and broth, stirring constantly with a whisk; bring to a boil.
  7. Reduce heat to medium-low; cook 10 minutes or until slightly thick, stirring constantly.
  8. Add pasta to pan; cook 10 minutes.
  9. Add cheese to pan, and stir until cheese melts.
  10. Add chicken and remaining ingredients to pan; cook 5 minutes or until broccoli is tender and soup is thoroughly heated.

Nutritional Information

Calories 317 Fat 12.3g Sat fat 6.8g Mono fat 2.9g Poly fat .9g  Protein 27.5g Carbohydrate 23.8g Fiber 1.9g Cholesterol 74 mg Iron 1.6 mg Sodium 723 mg Calcium 179 mg

If you use Facebook and are interested in the things I may not devote an entire blog post to: things like health articles, my favorite recipes, fun drinks, food facts, nutritional information, restaurant reviews, photos and other things that make my mouth water, I have a very active page on Facebook you can visit too: https://www.facebook.com/ThisGirlLovesHerFood

Weeknight Salmon in Parchment

For all of us trying to get more fish, and heart-healthy Omega-3’s, into our diets, this quick and easy recipe from Tastemade (the link takes you to the video – which is handy if you have trouble folding the parchment) takes 15 minutes from prep to cook to table!

INGREDIENTS

  • 30-inch long piece of parchment paper
  • ½ bulb of fennel, thinly sliced
  • 1 large scallion, cut into 2-inch-long pieces
  • 4 oz salmon fillet
  • Salt
  • Paprika
  • 1 slice lemon
  • ¾ Tbsp butter
  1. Preheat oven to 425ºF.
  2. Fold parchment paper in half and cut out a large heart shape. Fold open the heart.
  3. In the middle of the right side of the heart, place 3–4 pieces of scallions and a few pieces of fennel. 
  4. Place the salmon skin-side down on top of the scallions and fennel. 
  5. Top salmon with salt, paprika and the lemon slice. Add the pat of butter on top.
  6. Fold the heart-shaped paper over the fish until the edges meet. (This means the crease will lift off the table.) Begin overlapping folds from the top left and work your way around to the bottom left, at which point you can twist it or paper clip it.
  7. Transfer to a baking sheet and place in oven for 8 minutes, or until meat thermometer reads 140ºF. Serve in the bag on a plate.

Toss a salad together while the salmon is baking and you’ve gotten a completely healthy meal on the table in under 30 minutes on a weeknight!

If you use Facebook and are interested in the things I may not devote an entire blog post to: things like health articles, my favorite recipes, fun drinks, food facts, nutritional information, restaurant reviews, photos and other things that make my mouth water, I have a very active page on Facebook you can visit too:https://www.facebook.com/ThisGirlLovesHerFood

Meal Prepping Made Easy

I came across a post on Twitter last night that is so simple, I can’t believe I haven’t seen it dozens of times before!

What is the one thing, besides tracking your meals and exercise, that all diets rate as a “must do” for weight loss success?Meal Planning.  Hand and hand with pre-planning what you’ll eat and when you’ll eat it, is making sure the food you’re supposed to be eating is ready and able to be eaten with minimal fuss to keep you from resorting to fast or unhealthy food choices.

Meal prep for the week is a great idea, but what is the most common complaint? Boredom.  One can only eat so much grilled chicken!  This brilliant idea from Fit Men Cook takes care of boredom without adding more than 5 or 10 minutes to your weekly meal prep time!


By simply using foil to create sections on a cookie sheet, you can create individually seasoned portions of the protein you’ll be adding to your lunches and dinners for the week and, by doing it when you pre-cook it, save time when you eat it during the week.  You can create different salad choices, bowl themes, stir fry mix-ins, fillings for lettuce wraps, toppings for zucchini noodles, the options are unlimited.

When you have a specific goal in mind (losing weight, adding muscle, or if you are an athlete) you need to consume specific amounts of protein.  Meal prepping using a scale, sectioned cookie sheet for baking, and zip bags or storage containers, is a great way to keep you on track.  

Most of us need at least 50 grams of protein a day, and significantly more if we’re working out a lot or trying to lose weight. This graphic shows what 25 grams of protein looks like in a variety of foods, so you can eat a few of these portions and know you’re on the right track.


If you use Facebook and are interested in the things I may not devote an entire blog post to: things like health articles, my favorite recipes, fun drinks, food facts, nutritional information, restaurant reviews, photos and other things that make my mouth water, I have a very active page on Facebook you can visit too:https://www.facebook.com/ThisGirlLovesHerFood

10 No Fuss Healthy Soups


If you use Facebook and are interested in the things I may not devote an entire blog post to: things like health articles, my favorite recipes, fun drinks, food facts, nutritional information, restaurant reviews, photos and other things that make my mouth water, I have a very active page on Facebook you can visit too:https://www.facebook.com/ThisGirlLovesHerFood

Chicken Teriyaki Bowls

sunday-dinner-01I had nothing planned for Sunday family dinner after spending the afternoon enjoying the unexpected 88° day outside.  I swore not to order pizza 2 Sundays in a row, so I quick thawed a few individually wrapped chicken breasts that I bought at Costco and checked the cupboards for what I could do with them.

My first thought was that I had snipped some fresh basil from the garden and knew that I had some pine nuts and olive oil, I could do a quick pesto and throw the chicken over some pappardelle pasta.  That got vetoed because we had enjoyed a block of cream cheese covered with some jarred Trader Joe’s pesto Saturday afternoon with some pita crackers.  Damn!

I opened the refrigerator and saw the fresh pineapple that I had ripening to slice and soak in Malibu Rum and inspiration hit.  I’d make some homemade teriyaki and we’d have chicken bowls for dinner.  Whew!  Crisis averted.

Quick Teriyaki Sauce

  • 4 TBLS Honeyteri
  • 1/2 Cup Low Sodium Soy Sauce
  • 1 + 1/2 Cups Water
  • 8 TBLS Brown Sugar
  • 1 tsp minced ginger
  • 1+1/2 tsp minced garlic (preferably roasted)
  • 4 TBLS Corn Starch dissolved in 1/2 Cup Cold Water
  • 3 tsp Crushed Red Pepper Flakes
  • 3 tsp Sesame Seeds

In 1 +1/2 Quart Saucepan whisk together honey, soy sauce, water, brown sugar, ginger, garlic, and crushed red peppers over medium heat. Dissolve cornstarch in water and whisk into sauce cooking about 2 more minutes until sauce thickens. Remove from heat and stir in the sesame seeds.  Makes about 4 cups.  Store any unused sauce in a tightly covered container in the refrigerator.

Bowl Prep:

  • Prepare 6-8 Servings of White or Brown Rice
  • Thinly slice a green bell pepper, 2 ribs of celery, 2 carrots (julienne or matchstick sized), and 1/4 of a medium onion (if desired)
  • Quickly stir-fry the vegetables in a splash of olive oil until onion is translucent and other vegetables have softened
  • Cut 3-4 Boneless skinless chicken breasts into 1 x 1 inch strips (give or take), salt and pepper, and stir fry in a well oiled pan over medium-high heat until chicken is cooked through.
  • Thinly slice the green portions only of a green onion

Assemble Bowls:chixteri

  • Scoop some rice into the bottom of the bowl
  • Add a layer of the vegetable mixture
  • Top with a generous portion of the chicken
  • Generously spoon teriyaki sauce over the top of the chicken until well coated
  • Sprinkle with sliced green onion

This is a really easy make ahead meal.  Prepare everything and store separately in covered containers in the refrigerator.  It is easily and quickly reheated for a weeknight meal!

If you are on Facebook and are interested in the things I may not devote an entire blog post to, recipes, food facts, nutritional information, photos and other things that make my mouth water, I have a page on Facebook you can visit too:  https://www.facebook.com/ThisGirlLovesHerFood


Mushroom-Spinach Spaghetti

mushspinspagKnowing that tonight will be a long one while we stay up late to watch the results of Election Night 2016, I am prepping dinner for tomorrow night ahead of time.  A recipe I love, that has no sauce, is easy to assemble, throw in the refrigerator a day ahead, and, as a bonus, is one that my husband will take to work for lunch afterward without complaint!

Mushroom-Spinach Spaghetti

  • 1 Pound Spaghetti, Spaghettini, or Angel Hair Pasta
  • 24 oz Sliced White and/or Baby Portobello Mushrooms (I used a combination of both)
  • 4 oz Fresh Spinach
  • 1 Stick Butter (8 TBLS)
  • 2 TBLS + 2 TBLS + 2 TBLS (all separate measures) Olive Oil
  • 4 oz Shredded Parmesan Cheese
  • 3 TBLS Garlic and Onion Spice Blend (You can combine equal amounts of onion powder and garlic powder if you don’t have a prepared blend on hand)
  • Fresh Ground Sea Salt
  • Fresh Ground Pepper

mush1Put your stick of butter (8 TBLS) into a large skillet, I prefer a well seasoned cast iron skillet, over medium-high heat.

When your butter has melted, add your mushrooms and 2 TBLS olive oil poured over the top.  Cook, stirring occasionally so that mushrooms don’t stick to pan, for about 2 minutes, then add yourmush1a garlic and onion spice blend, salt and pepper.  Continue cooking and stirring the mushrooms for about another 3 to 4 minutes until most of the moisture has been absorbed by the mushrooms.  Remove the mushrooms to a large mixing bowl and set aside.

spin1Add 2 TBLS olive oil to the skillet and add your spinach to the pan.  Using tongs to toss the spinach with the oil, cook tossing constantly until all of the spinach is wilted but not cooked all the way.  Immediately remove from the pan to the samespin2 bowl as the mushrooms and stir the mushrooms and spinach together.  Set bowl aside and allow to cool while you prepare the pasta.  When your mushroom-spinach mixture has cooled, sprinkle your 4 ounces of shredded parmesan cheese over and stir it in completely.

Prepare your pasta according to package directions with one important change:  Make sure that you break the noodles in half lengthwise before you put them in the water.  When your pasta has finished cooking drain it and toss it with your remaining 2 TBLS olive oil then add it to your mushroom-spinach mixture.  Use your tongs to make sure your mushroom-spinach mixture is well combined and coating your pasta completely then either serve immediately or pour it into a 9 X 13 Pyrex baking pan and cover to keep warm.

mushspinspag

If you plan to make this a day ahead like I am, place covered baking pan in the refrigerator. To prepare for serving the next day, top cold pasta with a couple of TBLS butter (divided into small pats) and reheat in a 350°F oven for about 30 minutes.  You can also just toss individual servings into the microwave. 😉

With this easy (and inexpensive) make ahead dinner, the only decision you’ll need to worry about making tomorrow night is which wine to drink!

If you are on Facebook and are interested in the things I may not devote an entire blog post to, recipes, food facts, nutritional information, photos and other things that make my mouth water, I have a page on Facebook you can visit too:  https://www.facebook.com/ThisGirlLovesHerFood


Get Rid Of Garlic Breath!

bowl-of-garlic-clovesI LOVE garlic! 

If a recipe calls for 1 clove you can guarantee that I’ll be adding at least two, but more than likely three.  Unfortunately, I am one of those people who doesn’t just get garlic breath, I sweat garlic for at least a day after I’ve eaten it in any form.

One of my favorite aggressively garlic forward meals is Shrimp Scampi.

Extra Tasty Shrimp Scampi

  • 1 + 1/2 Pounds Large Fresh (or Frozen) Shelled & Deveined Shrimp
  • 1/2 Pound Asparagus Chopped into 1″ Chunks
  • 4 TBLS Olive Oil
  • 6 TBLS Butter
  • 1 Cup Dry White Wine (like a Sauvignon Blanc)
  • 4 TBLS Chopped Fresh Parsley
  • 4 to 6 Cloves Fresh Garlic, Minced
  • 1/2 to 3/4 teaspoon Red Pepper Flakes (or more to taste)
  • 2 TBLS Freshly Squeezed Lemon Juice
  • Freshly Ground Sea Salt
  • Freshly Ground Black Pepper
  • Steamed Jasmine Rice
  • A Freshly Baked French Baguette (for sopping up the extra sauce)

scampi

Leaving the tail on or removing it from the shrimp is an individual choice.  I prefer to leave it on so the maximum shrimp taste is passed into the sauce, but my husband complains about having to remove them, so I usually do just to avoid listening to him bitch…

  1. Prepare the jasmine rice and set aside (keep warm)
  2. Heat a large sauté pan or cast iron skillet over medium high heat
  3. Add olive oil, butter, garlic, and red pepper flakes
  4. Sauté about 30 seconds then add chopped asparagus
  5. Sauté about 90 seconds then add shrimp
  6. Add the wine and make sure that the shrimp is covered completely with the sauce
  7. Spread the shrimp so they are in a single layer in the pan and cook for about 3 minutes
  8. Turn the shrimp over and cook for another minute
  9. Remove the pan from the heat
  10. Squeeze the lemon over the shrimp, lightly salt & pepper and toss shrimp & asparagus with the chopped parsley

Serve the shrimp & asparagus over a bed of the steamed jasmine rice along side a hunk of the baguette, making sure to pour a generous amount of sauce over it all. Enjoy!

Once dinner is over and you’re ready to start getting kisses from your grateful family, you might want to start thinking about the garlic breath you’ve unleashed on an unsuspecting audience…

Apparently the Italians, who serve a salad and/or a fruit course after a pasta course, have known what they were doing all along.  The September 2016 issue of the Journal of Food Science reported the findings of a study that concluded that chewing on lettuce,  raw apples, or fresh mint after consuming a meal high in garlic reduced the concentration of the garlic smell on the subjects’ breath by 50%.

If you are on Facebook and are interested in the things I may not devote an entire blog post to, recipes, food facts, nutritional information, photos and other things that make my mouth water, I have a page on Facebook you can visit too:  https://www.facebook.com/ThisGirlLovesHerFood

Ceviche Style Shrimp Cocktail

cevstyshrcockIt may be starting to look like fall in the East, but here in Southern California, we’re getting ready for another 80°+ weekend.  It’s late September, and I’m not complaining.

With any luck, I’ll be out of my cast (fingers crossed), my stitches will come out of the four incisions on my foot, and I’ll be able to spend all day Sunday floating in my pool, catching some rays and we’ll BBQ a steak, some fresh asparagus, and some sweet potatoes for dinner.

Well before dinner though, I’m absolutely going to have a couple of these shrimp cocktails (thanks for the recipe Pampered Chef) prepared and ready to have for lunch while I’m lounging!

Ceviche Style Shrimp Cocktail

Ingredients

  • 1 pound shelled, deveined, large cooked shrimp, diced (21-25 per pound)
  • 1/2 medium seedless cucumber, diced
  • 2 plum tomatoes, seeded and diced
  • 1/4 cup thinly sliced and quartered red onion
  • 1/4 cup snipped fresh cilantro
  • 1/4 cup lime juice
  • 1/2 teaspoon salt
  • 1 medium avocado
  • Coarse salt, lime slices and whole shrimp (optional)
  • 1 jalapeño pepper, seeded and finely chopped
 Directions
  1. Combine shrimp, cucumber, tomatoes, onion, cilantro, lime juice, jalapeño pepper and salt in mixing bowl; toss to coat. Cover; refrigerate up to 1 hour before serving.
  2. Immediately before serving, dice avocado and fold gently into shrimp mixture. If desired, rub the rims of four margarita glasses with one lime slice, then dip into shallow dish of coarse salt; spoon salad into glasses. Garnish with lime slices and whole shrimp.

Tip:

 For the best texture, do not prepare this recipe more than 1 hour in advance. Once combined with the acidic lime juice, the shrimp will begin to firm up and eventually become tough and rubbery.

Nutrients per serving:

Calories 200, Total Fat 8 g, Saturated Fat 1.5 g, Cholesterol 220 mg, Carbohydrate 8 g, Protein 26 g, Sodium 550 mg, Fiber 5 g

If you are on Facebook and are interested in the things I may not devote an entire blog post to, recipes, food facts, nutritional information, photos and other things that make my mouth water, I have a page on Facebook you can visit too:  https://www.facebook.com/ThisGirlLovesHerFood

Decadent Sunday Dinner

FullSizeRenderEvery once in a while I get a craving I just can’t shake for a thick, juicy steak and a moist, tender lobster.  Thankfully we are in an area where there are Asian markets with whole live Maine lobster in a tank, ready to be steamed for me on the spot, that are surprisingly affordable ($9.99/lb!).

Yesterday I got the craving while shopping in Costco (On a Sunday! What was I thinking?) and I just couldn’t face the weekend crowd we were sure to encounter if we trekked to the Ranch 99 Market.  I knew I had a pair of thick filet mignon steaks in the freezer and Costco had previously frozen Canadian lobster tails that looked meaty enough to satisfy my craving, so I decided to give them a try.

Knowing timing would be my biggest hurdle to making sure everything would be ready and warm at the same time, I set my cooking schedule for a true 30 minute meal:

FullSizeRender_35:30 – Get the steaks started.  I turned the burner to medium-high and pre-heated my favorite pan in my kitchen arsenal, my cherry Le Cruset Square grill pan, then added a spray of olive oil spray, seasoned the steaks with Zatarain’s Creole Seasoning, then put them on the sizzling pan to cook.  Assuming your filet mignon steaks are at least 1 inch thick, turn steaks over after 8 minutes (for medium rare), 10 minutes (for medium/medium well), or 12-13 minutes (for well done).  When you have turned cook the steaks for the same amount of time for your desired degree of wellness and, when there is about 2 minutes left in your cooking time, put a pat of cold butter on top of the steak.

In a pan with a lid, put in 1 inch of water and a steamer insert then bring to a boil.  When water reaches a boil, place the lobster tails inside the steamer insert, cover, reduce heat to low-medium and steam for 8 minutes.  While the lobster tails are steaming, in a small pan (or a ramekin in the microwave) melt a half cube of butter to dip the lobster in.

Open a bag of frozen C&W (A.K.A. Birdseye) whole petite green beans, pour into a covered 2 quart dish and set the microwave for 6-7 minutes on high power.

FullSizeRender_2This timing will have all of your parts done at the same time so that you can quickly plate and serve your dinner at 6:00.  I opened a bottle of  Eberle Rare & Reserve 2012 The Ravelin red wine blend to serve alongside.  The wine was a perfect complement to the boldly spiced steak.  Bon Appetit’.

Are you on Facebook?  You might be interested in the things I may not devote an entire blog post to: recipes, food facts, nutritional information, photos and other things that make my mouth water. I may not write a blog post every day, but there are daily updates to my This Girl Loves To Eat community at: https://www.facebook.com/ThisGirlLovesHerFood

Quick Cucumber Salad

cucsaladI wish I had all day to experiment in the kitchen, but that is one luxury I do not have.

Between my “real” job, the groups/charities I volunteer my time to, my family, my dogs and the few other things I get to do in my free time, I rarely get as much time to create new recipes as I’d like.

Today was another one of those days.  You know, the kind with business meetings, tasks on the ever-growing to-do list, a trip to the hair salon, and a few other unexpected things, so I knew dinner time would be rushed as well.

This morning I put 2 frozen chicken breasts in a Rubbermaid container with some of my favorite marinade (Ponte’ Winery Scallion Oil Marinade/Dressing) with hopes that they’d defrost in time and then surveyed the refrigerator for what I’d be able to serve with them.

oxoI really am trying to cut back on the carbs, fat and extra calories in our diets, so a cold salad I could marinate all day would be just the right choice!  Plus, I’d get to use my new kitchen tool: my OXO slicer/grater.

Quick Cucumber Salad

  • 1 English Cucumber
  • 2 Roma Tomatoes
  • 1/2 Small Yellow Onion
  • 1/3 Cup Apple Cider Vinegar
  • 1 TBLS Olive Oil
  • 6 Large Leaves Fresh Basil
  • Freshly Ground Pepper
  1. Using either a very sharp knife or a Mandolin slicer (I use the OXO Complete Grate & Slicer Set), thinly slice the cucumber, the tomatoes and the onion and combine in a gallon sized zip bag.
  2. Stack the basil leaves and roll like a cigar and then thinly slice into narrow strips.  Add the basil to the zip bag.
  3. Add pepper, vinegar, and olive oil to the zip bag.
  4. Seal the bag and shake the contents vigorously.
  5. Open the zip bag then push the air out and reseal.
  6. Place the salad in the refrigerator until time to serve.
  7. Before serving, open the zip bag again to allow air to enter, then reseal and shake the salad to mix before place on plates to serve.

Are you on Facebook?  You might be interested in the things I may not devote an entire blog post to: recipes, food facts, nutritional information, photos and other things that make my mouth water. I may not write a blog post every day, but there are daily updates to my This Girl Loves To Eat community at: https://www.facebook.com/ThisGirlLovesHerFood