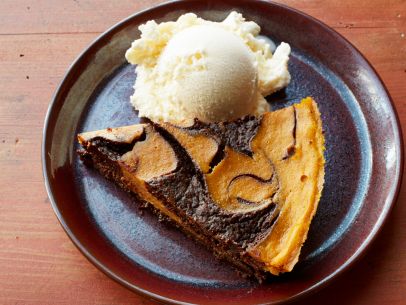
 As I was reviewing the recipes I’d be making for Thanksgiving weekend gatherings this year, I realized that someone likely to eat at least one meal at my house is gluten intolerant and wouldn’t be able to share the best part of dinner: dessert! Luckily I had a recipe that was easily converted to gluten free, whew, crisis averted!
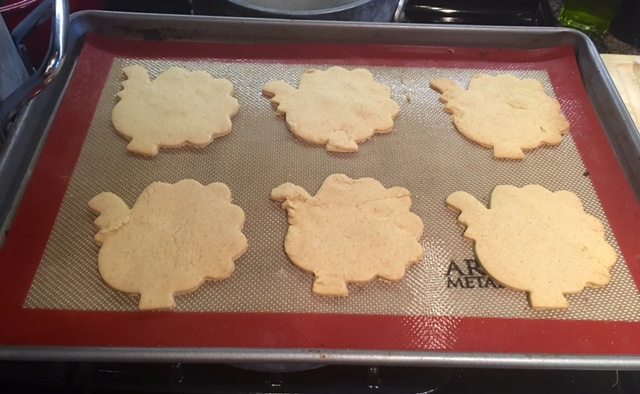
Gluten Free Pumpkin Spice Cookies
Mix together in a bowl and set aside:
- 3 1/4 Cups All-Purpose Gluten Free Flour (I use Krusteaz)
- 2 tsp Pumpkin Pie Spice
- 1 tsp Baking Powder
In stand mixer cream until light and fluffy:
- 2 Sticks (1 Cup) softened butter
- 2/3 Cup Granulated Sugar
- 1/3 Cup Brown Sugar (Light or Dark) then add
- 1 Egg
- 1/4 Cup Canned Pumpkin Puree
Preheat the oven to 350 degrees.
On low speed slowly add the dry ingredients until well incorporated and dough forms a ball.
Divide the dough in half and put into 2 large Ziplock bags. Flatten to a large disk and put both into the refrigerator for at least 30 minutes.
Once dough has chilled place first disk on a lightly floured surface (MAKE SURE YOU USE THE GLUTEN FREE FLOUR), roll out to about 1/4″ and cut into Turkeys, Leaves, Footballs or any other fall shape. Place on a cookie sheet with a silicone liner or parchment paper and then throw the pan in the freezer for a couple of minutes to help cookies keep their shape when you bake them. Repeat process with what is left of first disk then the second disk until you have used all of the dough.
Bake for 9-12 minutes (until lightly browned on the bottoms and starting to brown on the tops) depending on your oven and the thickness of your cookies. Remove cookies from the oven. Allow to cool on pan about 1 minute then remove to wire racks to completely cool. Do not leave on the pan too long or the cookies might start to lose their shape.
When completely cool ice with Royal Icing or pre-made cookie icing and enjoy.
Are you on Facebook? You might be interested in the things I may not devote an entire blog post to: recipes, food facts, nutritional information, photos and other things that make my mouth water. If so, visit my This Girl Loves To Eat community at: https://www.facebook.com/ThisGirlLovesHerFood

 My family never ate any cranberry sauce that was homemade. In the preparations for Thanksgiving, someone was always assigned the task of bringing two cans of jellied and one of whole berry cranberry sauce. And you couldn’t try and pull a fast one by buying store brand. It had to be Ocean Spray on Grandma’s Thanksgiving table!
 This year I put some time and creativity into the preparation and came up with a winner:
 We are officially one week away from the start of “Holiday Season.”
 You know the ones am talking about: A can or two of yam chunks mixed with an orange juice, brown sugar type concoction, chunks of butter, chopped pecans, and piled high with mini-marshmallows then baked until they are bubbly and the marshmallows are a delightful shade of brown.
 Peel sweet potatoes, cut into slices and cook in boiling water to cover over medium heat 25 – 30 minutes or until fork tender. Drain and put into large bowl then mash (leave some chunks).