


It seems like every appetizer served at parties, large or small, is forbidden to those who follow the low carb lifestyles touted by the Keto, Paleo and Atkins diets, but who has the time, or patience, to spend making some of the recipes for snacks that are allowed?
I went to a couple of my favorite “regular recipe” resources, Epicurious.com and Emeril’s on Planet Green, to see if there were any easy snack recipes that were low carb friendly and was pleasantly surprised! #ThisGirlLovesToEat
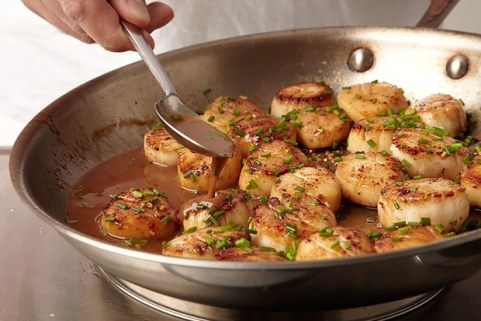
Aguachile de Camarón
- 2 Quarts Water
- 2 TBLS Kosher Salt
- 1 Pound Fresh Jumbo Shrimp, peeled & deveined
- 1 English Cucumber, peeled
- 1 Cup Freshly Squeezed Lime Juice
- 1/4 Cup Extra Virgin Olive Oil
- 1/4 Cup Cold Water
- 2 to 3 Fresh Serrano Chiles, sliced
- 1 TBLS Chopped Fresh Parsley
- Combine 2 quarts water and 2 TBLS cup salt in a large saucepan; bring to a boil.
- Butterfly the shrimp, leaving the tail intact.
- Add shrimp and immediately turn off the heat.
- Let the shrimp sit until just cooked through, 2-3 minutes.
- Place shrimp in colander, run under cold water to stop the cooking, then drain.
- In a blender, combine the lime juice, olive oil, chiles, and 1/4 cup of cold water. Process until smooth then season to taste with salt.
- In a non-reactive bowl combine the shrimp with the dressing. Cover and put into the refrigerator for 1 hour. (Can be made up to 4 hours before serving)
- Cut the cucumber into thin rectangular slices, about 3 inches long, and divide among 4 small plates.
- Arrange the shrimp on top of the cucumber slices, season as needed, garnish with chopped parsley, and serve immediately.
**Non-Reactive Bowl: Stainless-steel, enamel-coated or glass—is necessary when cooking with acidic foods, such as lemon, to prevent the food from reacting with the pan. Reactive pans, such as aluminum and cast-iron, can impart an off color and/or off flavor
Salami Crisps (Epicurious)
- 1/4 Pound (very thinly sliced) Genoa Salami, Soppressata, Pepperoni, Pancetta, Jamón Ibérico, Finocchiona, Coppa, or other charcuterie type dry cured meat
- Cracked Black Pepper (if using an unspiced meat)
- Parmesan Cheese (if desired)
- Put oven racks in upper and lower thirds of oven and preheat oven to 325°F.
- Arrange salami slices in 1 layer on 2 large baking sheets lined with parchment paper.
- If using Parmesan Cheese, sprinkle slices lightly.
- Bake, switching position of sheets halfway through baking, until edges are crisp and beginning to curl, 10 to 12 minutes.
- Transfer slices to a rack to cool. (They will crisp as they cool.)
Serving Suggestion: Small slices of cheese, olive oil marinated feta, or some herbs mixed into cream cheese are all Keto-friendly and would be good served with these crisps.


 Very reluctantly, I’m back from my week of culinary indulgence. I gorged myself while sipping on every delectable wine I could in Napa and Paso Robles, so it’s back to the kitchen (& the gym) I go.

