


I was cleaning out the drawers in my kitchen today, a task I hate and do only when I notice crumbs in the silverware divider (HOW IN THE WORLD DO CRUMBS GET INTO THE SILVERWARE DIVIDER WHEN THE SILVERWARE IS CLEAN?), and found a recipe I’d printed out last year but never made. Truth be told, there were dozens of recipe print-outs, torn out magazine pages, a few cooking magazines, some torn off box tops with recipes and a few odd labels with the same.
After washing out the divider and putting everything, except all of the recipes, back into the drawers I was drawn back to this recipe and put it squarely on top of the pile to be made next. #ThisGirlLovesToEat
There are a lot of things to like about these cookies, but one or two that could be cons for some:
- They don’t pretend to skimp on calories or fat
- They aren’t your run-of-the-mill chocolate chip cookies
- They have buttery toffee in them
- They call for chocolate discs instead of normal chips
- Salt is a featured flavor
- Con 1: They require extra time to prepare
- Con 2: The ingredients cost more than everyday chocolate chip cookies
- Con 3: The recipe makes fewer than 2 dozen cookies – cost per cookie is definitely special occasion or want to impress someone level
It’s really important you know how to make brown butter, so I went to America’s Test Kitchen to get a video to help us all out:
Brown Butter & Toffee Dark Chocolate Chip Cookies
-
1 cup (2 sticks) unsalted butter
-
2 cups all-purpose flour
-
1 teaspoon baking soda
-
¾ teaspoon kosher salt
-
1 cup (packed) dark brown sugar
-
⅓ cup granulated sugar
-
2 large eggs, room temperature
-
2 teaspoons vanilla extract
-
2 chocolate toffee bars (Heath or Skor), chopped into ¼-inch pieces
-
1½ cups chocolate wafers (disks, pistoles, fèves; preferably 72% cacao)
-
Flaky sea salt
Cook butter in a medium saucepan over medium heat, stirring often, until it foams, then browns, 5–8 minutes. Scrape into a large bowl and let cool slightly.Meanwhile, whisk flour, baking soda, and kosher salt in a medium bowl.
Add brown sugar and granulated sugar to browned butter. Using an electric mixer on medium speed, beat until incorporated, about 1 minute. Add eggs and vanilla and beat until mixture lightens and begins to thicken, about 30 seconds. Reduce mixer speed to low; add dry ingredients and beat just to combine. Mix in toffee pieces and chocolate wafers with a wooden spoon or a rubber spatula. Let dough sit at room temperature at least 30 minutes to allow the flour to hydrate. Dough will look very loose at first, but will thicken as it sits.
Place a rack in middle of oven; preheat to 375°. Using a 1½-oz. ice cream scoop, portion out 10 balls of dough and place on a parchment-lined baking sheet, spacing about 3″ apart (you can also form dough into ping pong–sized balls with your hands). Do not flatten; cookies will spread as they bake. Sprinkle with sea salt.
Bake cookies until edges are golden brown and firm but centers are still soft, 9–11 minutes. Let cool on baking sheets 10 minutes, then transfer to a wire rack and let cool completely. Repeat with remaining dough and a fresh parchment-lined baking sheet to make 10 more cookies.
Do Ahead: Cookie dough can be made 3 days ahead; cover and chill. Let dough come to room temperature before baking.

 We’ve all noticed it, the white stuff that oozes out of our salmon no matter how long or short we cook it, whether poached, baked or grilled. It really ruins the presentation. I have always wondered if it’s normal, and what I did wrong to make my salmon not look as pretty as it is when served to me at a restaurant.
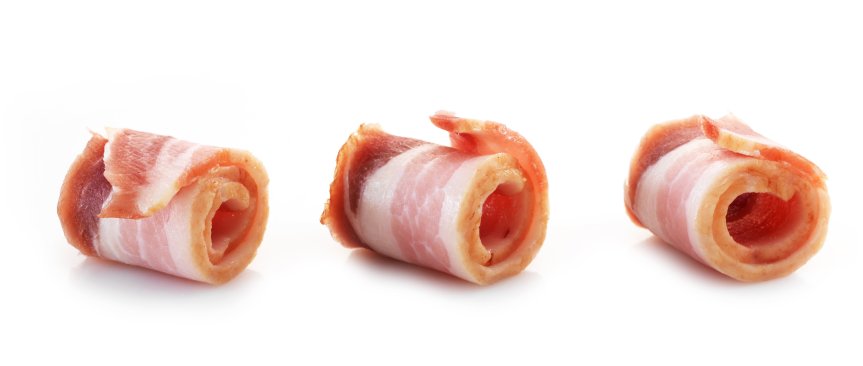 I’ve always stored bacon in the fridge. It’s what my mom and dad did.
